Garmin Gear Made Simple for Cyclists
Got a Garmin Edge, Forerunner, or Venu and wonder how to actually use it on the bike? You’re not alone. In the next few minutes I’ll walk you through the basics, show you a couple of hidden tricks, and give you a checklist so you can get more out of every ride without spending hours reading manuals.
Getting the Most Out of Your Garmin Edge
First things first – power up the device and pair it with your phone. Open the Garmin Connect app, sign in, and let it sync. This step does more than just copy routes; it pulls in your recent rides so you can compare performance day by day.
Next, set up the sensor suite you actually need. A speed/cadence sensor and a power meter are the most common, but a heart‑rate strap is worth the extra data if you’re training hard. Go to Settings > Sensors & Accessories, hit “Add New,” and follow the on‑screen prompts. You’ll hear a beep when each sensor is linked.
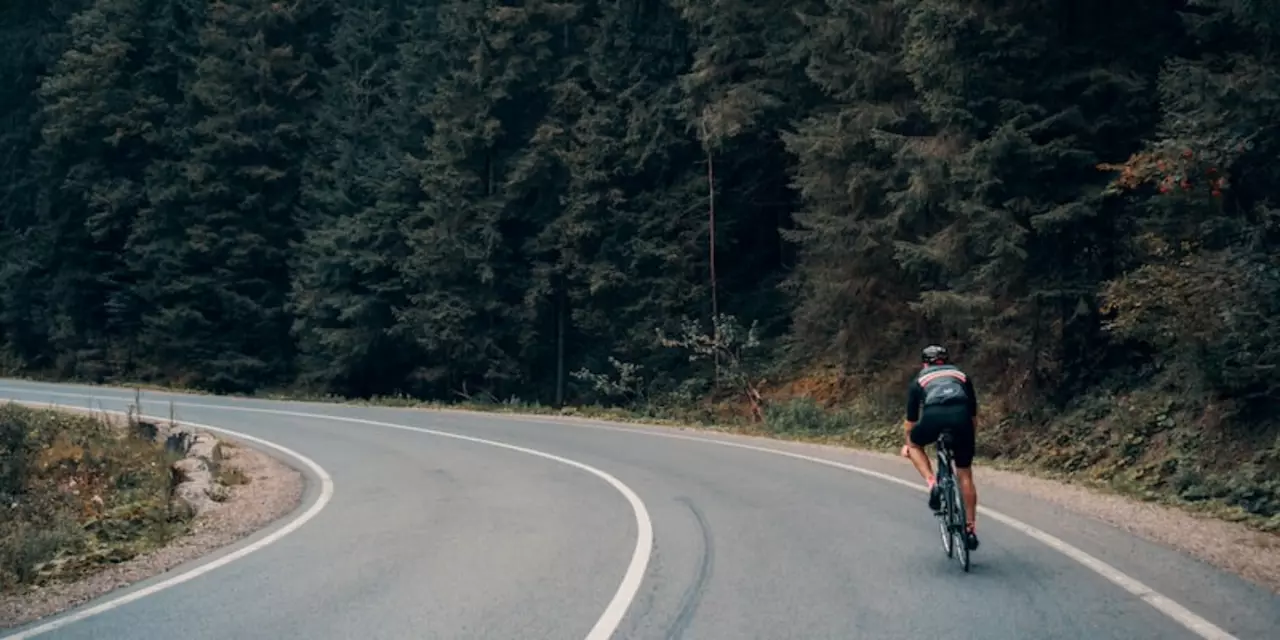
Now pick a navigation style that feels natural. If you like turn‑by‑turn directions, enable the ‘LiveTrack’ feature and turn on the spoken arrows. If you prefer a clean screen, switch to ‘Simplify Map.’ Both options are under Settings > Navigation.
Battery anxiety is real, especially on long rides. The Edge has a quick‑charge cable that brings a full charge in about 30 minutes. For the occasional 100‑km adventure, keep the device in airplane mode when you don’t need notifications – that alone can add an extra hour of runtime.
Garmin Data for Everyday Riding
After you finish a ride, open Garmin Connect on your phone or computer. The first thing you’ll see is a quick summary: distance, average speed, and total climbing. For deeper insights, scroll down to the ‘Performance’ tab. Here you can view power zones, heart‑rate zones, and even see where you spent the most time in each.
If you’re chasing personal bests, use the ‘Training Effect’ metric. It tells you whether a ride was an easy endurance session or a high‑intensity effort. Adjust your future workouts based on that score – aim for a mix of ‘low‑effort’ and ‘high‑effort’ days to avoid burnout.
One feature many riders overlook is the ‘Custom Activity Profiles.’ Create a profile for group rides, solo long rides, or hill repeats. Each profile can have its own data fields, alerts, and auto‑pause settings. To set one up, go to Settings > Activity Profiles, tap ‘Add New,’ and choose the fields you want on‑screen (e.g., current power, elapsed time, and remaining distance).
Finally, share your achievements. A quick tap on the ‘Share’ button posts your ride to social media, the community forums, or a private group. It’s a great way to stay motivated and get feedback from fellow cyclists.
With these steps you’ll move from “I have a Garmin” to “I’m getting real value from my Garmin every ride.” Keep experimenting – the more you play with settings, the more the device will feel like an extension of your own bike. Happy riding!
How do I track indoor cycling on Garmin?
This article explains how to use a Garmin device to track indoor cycling. It provides step-by-step instructions for setting up the device and syncing it with an app. It also discusses the benefits of tracking indoor cycling with a Garmin device such as detailed analysis of performance, real-time feedback, and ability to compare results with others. Finally, it provides tips on how to use the device to get the most out of your rides. In short, this article provides an overview of how to use a Garmin device to track indoor cycling, its benefits, and tips for optimizing the experience.